Artisan Breads and Spreads
Highlighted under: Oven Bread | Warm Loaf
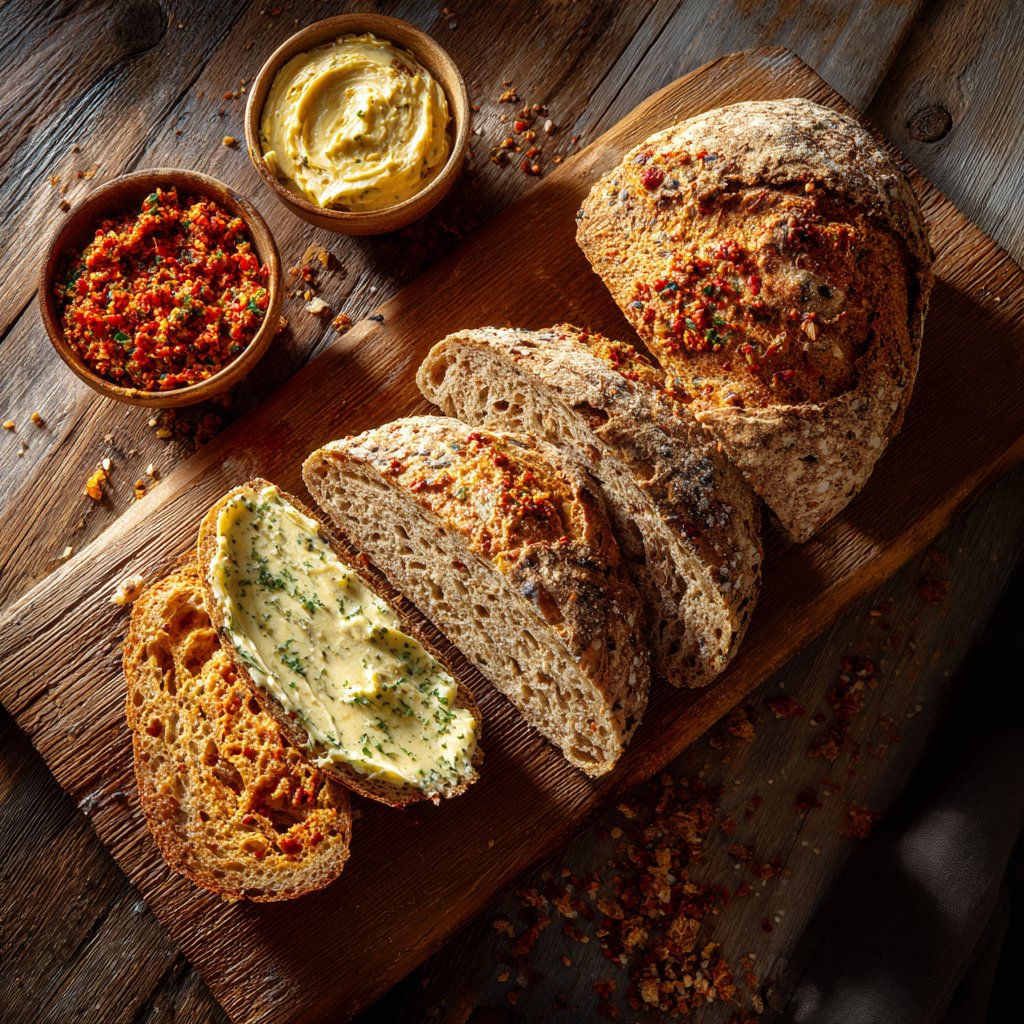
I love experimenting with different bread recipes, and creating artisan breads and spreads has become one of my favorite culinary adventures. Each time I make them, I enjoy the delightful aromas wafting through my kitchen. There's something so satisfying about kneading the dough and watching it rise, knowing that I'll soon reward myself with a fresh loaf. The variety of pairs and flavors I can create with spreads makes each meal unique and exciting. Join me as I dive into the art of bread making and explore some delicious spreads to complement them!
During my bread-making journey, I discovered the joy of incorporating different flours and grains, which gave my artisan bread a unique texture and flavor. One of my favorite tips is to use a mix of whole wheat and all-purpose flour, ensuring the bread remains light yet hearty. The perfect kneading technique also plays a crucial role, so I often stretch and fold the dough instead of relying solely on a traditional knead.
Pairing my freshly baked bread with homemade spreads has been a game-changer. For instance, a zesty herb butter not only enhances the flavor but also complements the warm, crusty texture of the bread beautifully. I've also tested sweet options like honey butter, which creates a delightful contrast and is always a hit during brunch!
Why You Will Love This Recipe
- The warm, crusty exterior paired with a soft, fluffy interior
- Versatile spreads that cater to both savory and sweet cravings
- The satisfaction of baking your own artisan bread from scratch
Mastering Artisan Bread Technique
Achieving the perfect artisan bread requires understanding the science of flour and hydration. The combination of all-purpose flour and whole wheat flour provides a balanced structure, while the warm water activates the yeast. Make sure your water temperature is between 100°F to 110°F to activate the yeast effectively. If the water is too hot, it can kill the yeast, leading to a dense loaf. Watch for a shaggy dough that pulls away from the sides of the bowl, signifying that you've added enough water.
Kneading is a crucial step in developing gluten, which gives the bread its structure and chewiness. Aim for a smooth, elastic dough after about 10 minutes of kneading. I like to perform the ‘windowpane test’ by stretching a small piece of dough—if it forms a thin, translucent membrane, it’s perfectly kneaded. Avoid over-kneading, as this can lead to a tough texture. Use a bench scraper to help with sticky dough and to prevent it from clinging to your work surface.
Understanding Bread Rising
The first rise is essential for flavor development and texture. The dough needs to rise in a warm place—around 75°F to 80°F is ideal. If your kitchen is on the cooler side, consider turning your oven on for a minute to warm it slightly, then turning it off before placing the dough inside to rise. Look for the dough to double in size, which typically takes about 60 minutes. Underproofing leads to a dense loaf, while overproofing risks collapse.
The second rise is equally important for a well-shaped loaf. After shaping the dough into a loaf and placing it in a greased pan, allow it to rise for 30 minutes during preheating. This final proofing can create the desired height and lightness in the bread. The dough should rise noticeably but not double; look for a puffy, soft surface. If the dough doesn’t spring back when gently poked, it’s ready for the oven!
Creating Irresistible Spreads
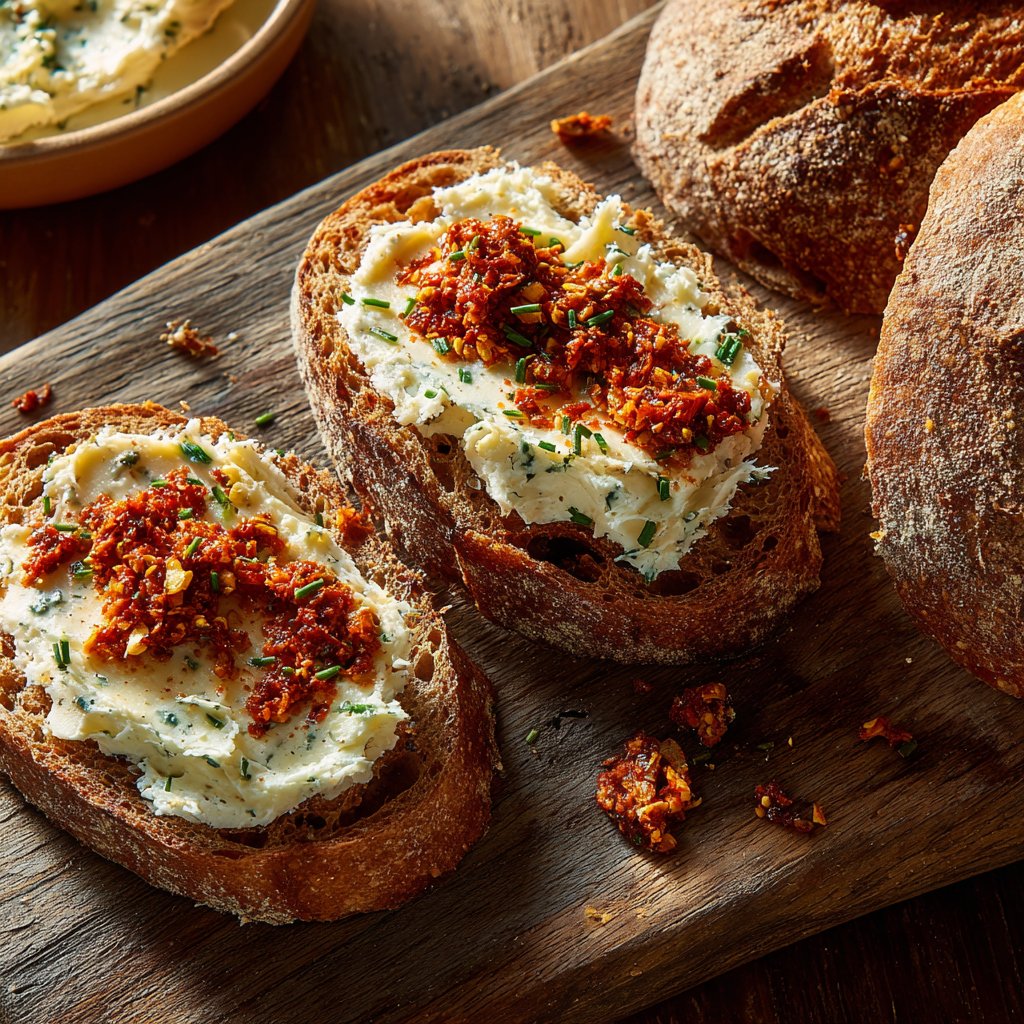
Herb butter and honey butter spreads are simple yet elevate the artisan bread experience. For the herb butter, using fresh herbs like parsley or chives adds a bright flavor contrast to the warm, crusty bread. Make sure the butter is at room temperature for easy mixing; if you’re short on time, you can microwave it for a few seconds—just be careful not to melt it. Blend until smooth with garlic powder and season with salt and pepper, adjusting to your taste preference.
The honey butter spread is perfect for those looking for a sweet accompaniment. Combining honey with butter creates a creamy, silky texture that melts beautifully over warm bread. If you want to add a little spice, the optional cinnamon can provide a warm, comforting flavor. Use this spread for breakfast or brunch, and try incorporating it with toasted bread for a delightful twist. Store any leftover spreads in the refrigerator; simply bring them to room temperature before serving.
Ingredients
Gather all the following ingredients for making artisan bread and delightful spreads.
Artisan Bread
- 3 cups all-purpose flour
- 1 cup whole wheat flour
- 2 teaspoons instant yeast
- 1 tablespoon salt
- 1 1/2 cups warm water
Herb Butter Spread
- 1/2 cup unsalted butter, softened
- 2 tablespoons fresh herbs (like parsley or chives), chopped
- 1 teaspoon garlic powder
- Salt and pepper to taste
Honey Butter Spread
- 1/2 cup unsalted butter, softened
- 1/4 cup honey
- 1 teaspoon cinnamon (optional)
- Pinch of salt
Make sure to have all these ingredients ready for a successful baking experience!
Instructions
Follow these steps to create your delicious artisan bread and spreads.
Prepare the Dough
In a large mixing bowl, combine all-purpose flour, whole wheat flour, instant yeast, and salt. Slowly stir in warm water until a shaggy dough forms.
Knead the Dough
Transfer the dough onto a lightly floured surface. Knead for about 10 minutes until smooth and elastic.
First Rise
Place the dough in a lightly oiled bowl, cover with a damp cloth, and let it rise in a warm place for about 60 minutes or until doubled in size.
Shape the Loaf
Once risen, gently punch down the dough and shape it into a loaf. Place it in a greased loaf pan.
Second Rise
Cover the loaf again and let it rise for another 30 minutes while preheating the oven to 450°F (230°C).
Bake
Bake in the preheated oven for about 30 minutes or until golden brown. Let cool completely before slicing.
Prepare the Spreads
While the bread is baking, mix the ingredients for the herb butter and honey butter in separate bowls until well blended.
Enjoy your freshly baked artisan bread with the spreads for a perfect combination!
Pro Tips
- For best results, use a bread thermometer to ensure the internal temperature of the bread reaches 190°F (88°C). This guarantees a perfectly baked loaf.
Make-Ahead and Storage Tips
You can prepare the artisan bread dough in advance and refrigerate it overnight after the first rise. This slow fermentation allows for deeper flavors and a more complex taste. Just keep the dough covered with plastic wrap to prevent drying out. The next day, bring it to room temperature, shape it, and proceed with the second rise before baking.
For the spreads, you can make them ahead as well! Both herb butter and honey butter can last in the fridge for up to two weeks when stored in an airtight container. Just be sure to label them with the date. These spreads can also be frozen, so you can always have them ready for any occasion. Just slice them into portions before freezing for easy thawing.
Troubleshooting Common Issues
If your bread is dense, it could be due to either under-proofing or incorrect measurements. Ensure your yeast is fresh and activated properly; expired yeast won’t provide the necessary rise. Also, measuring flour using the spoon-and-level method rather than scooping directly can yield a more accurate quantity, preventing too much flour in your dough.
If you notice your bread has a pale crust, increase the oven temperature slightly, or use a baking stone to retain heat better during baking. For a deeper crust, consider placing a shallow pan with water in the oven to create steam, which will help develop a better crust. Remember, the perfect loaf often comes down to minor adjustments, so don't hesitate to experiment!
Serving and Pairing Suggestions
Slice your artisan bread and serve it warm, fresh out of the oven, for the best experience. Pair the herb butter with your favorite hearty soups or salads for a truly satisfying meal. The combination of flavors enhances both the bread and the dish, creating a harmonious blend of taste and texture.
For a sweet touch, spread honey butter on your warm bread and enjoy it with fresh fruit or as a delightful addition to a cheese board. If you have leftovers, consider creating delicious sandwiches or toast for breakfast by adding toppings like avocado, smoked salmon, or cream cheese. The versatility of both the bread and spreads allows for a variety of delicious meals throughout the week.
Questions About Recipes
→ Can I use bread flour instead of all-purpose flour?
Yes, bread flour will yield a denser loaf with a chewier texture.
→ Is it necessary to let the dough rise twice?
While you can let it rise once, a second rise improves flavor and texture.
→ How long can I store the artisan bread?
You can store it at room temperature for about 2-3 days, or freeze it for up to 3 months.
→ What can I use if I don't have fresh herbs for the butter?
Dried herbs work well; just use about 1 teaspoon of dried herbs in place of 1 tablespoon of fresh.
Artisan Breads and Spreads
Created by: The Chefivancooks Team
Recipe Type: Oven Bread | Warm Loaf
Skill Level: Intermediate
Final Quantity: 4 servings
What You'll Need
Artisan Bread
- 3 cups all-purpose flour
- 1 cup whole wheat flour
- 2 teaspoons instant yeast
- 1 tablespoon salt
- 1 1/2 cups warm water
Herb Butter Spread
- 1/2 cup unsalted butter, softened
- 2 tablespoons fresh herbs (like parsley or chives), chopped
- 1 teaspoon garlic powder
- Salt and pepper to taste
Honey Butter Spread
- 1/2 cup unsalted butter, softened
- 1/4 cup honey
- 1 teaspoon cinnamon (optional)
- Pinch of salt
How-To Steps
In a large mixing bowl, combine all-purpose flour, whole wheat flour, instant yeast, and salt. Slowly stir in warm water until a shaggy dough forms.
Transfer the dough onto a lightly floured surface. Knead for about 10 minutes until smooth and elastic.
Place the dough in a lightly oiled bowl, cover with a damp cloth, and let it rise in a warm place for about 60 minutes or until doubled in size.
Once risen, gently punch down the dough and shape it into a loaf. Place it in a greased loaf pan.
Cover the loaf again and let it rise for another 30 minutes while preheating the oven to 450°F (230°C).
Bake in the preheated oven for about 30 minutes or until golden brown. Let cool completely before slicing.
While the bread is baking, mix the ingredients for the herb butter and honey butter in separate bowls until well blended.
Extra Tips
- For best results, use a bread thermometer to ensure the internal temperature of the bread reaches 190°F (88°C). This guarantees a perfectly baked loaf.
Nutritional Breakdown (Per Serving)
- Calories: 400 kcal
- Total Fat: 25g
- Saturated Fat: 15g
- Cholesterol: 70mg
- Sodium: 150mg
- Total Carbohydrates: 45g
- Dietary Fiber: 4g
- Sugars: 6g
- Protein: 9g